Goin' Cray-Z
Tying the Canyon Craw.
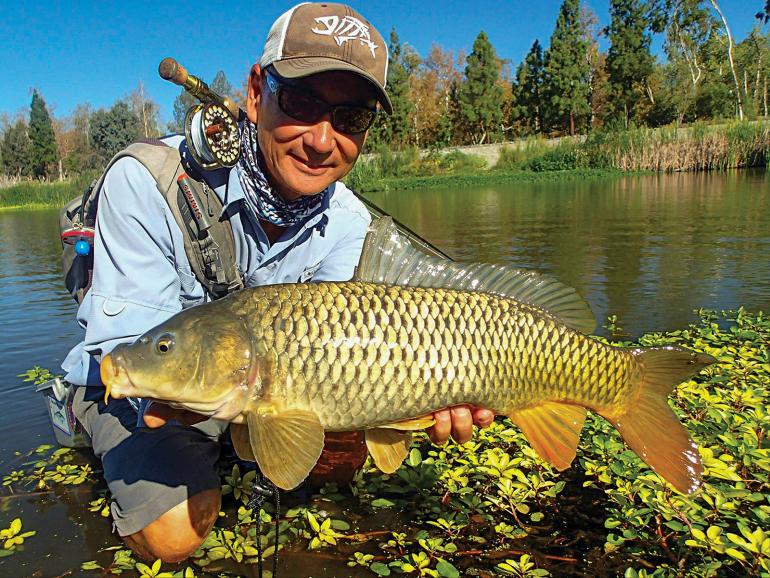
Targeting carp on the fly is a great way to spend the summer months, especially as the water gets too warm for trout fishing. There are lots of sight-fishing opportunities, as these fish are usually targeted in ankle- to thigh-deep water. Carp eat many of the same types of forage that trout do. Crayfish, leeches, and damselflies are a few common options to imitate. Many carp flies are tied so that they ride with the hook point facing up, as to avoid getting caught on the bottom.
The Canyon Craw
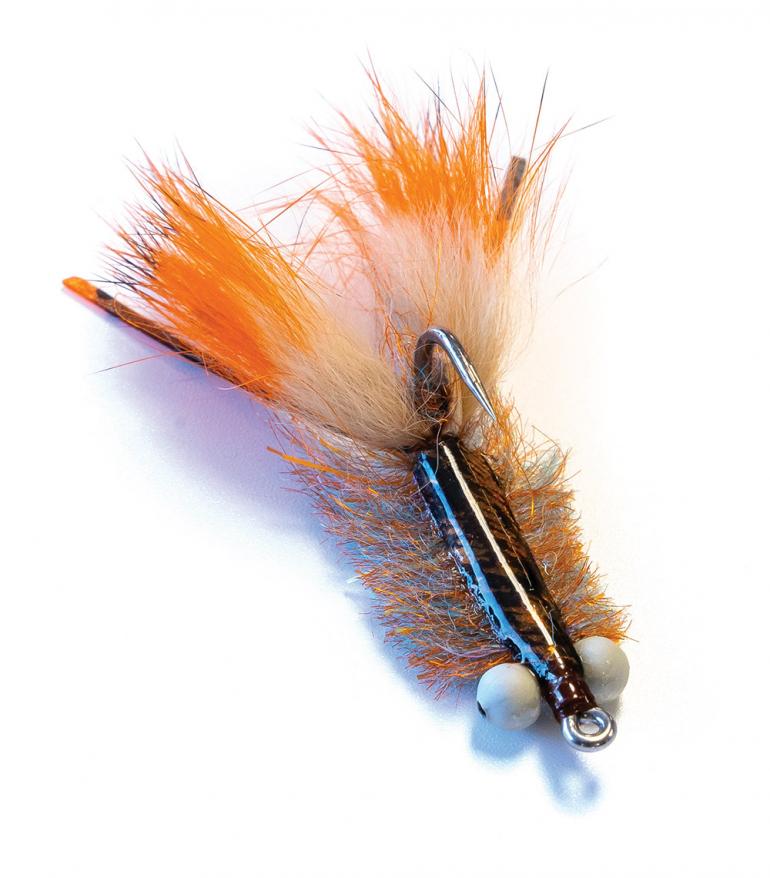
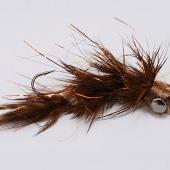
This fly is a fun crayfish pattern that draws inspiration from a few saltwater flies, especially the Merkin Crab and Tarpon Toad. The rabbit strips stay splayed out to the sides to imitate the claws of a crayfish. The carp dub is a great material for getting a slightly translucent and mottled appearance, and the Thin Skin helps represent the carapace. This fly is also effective as a trout pattern, fished either as a nymph or a streamer. The big thing to keep in mind while tying this fly is that it rides point-up—meaning, the top of the fly will be the side of the hook with the point. I often tie this fly with the hook inverted in my vise.
Materials
Hook: Ahrex SA210 #4
Thread: Veevus 6/0, brown
Eyes: Chicone’s Stealth Chain, size large, gray
Claws: Tiger Barred Rabbit Strips, black/orange over tan
Antennae: Lazer Legs, cajun craw
Carapace: Thin Skin, mottled oak orange
Body: Cohen’s Carp Dub, cray-zee orange
Resin: Solarez Bone Dry, clear
Instructions
1. Place the hook into the vise and create a thread base that covers the shank, slightly down the bend of the hook.
2. Take the carp dub and create a small dubbing noodle. Create a small bump on the bend of the hook. This bump will help keep the claws splayed apart.
3. Wrap the thread back up to behind the eye of the hook. Tie in your bead chain eyes on the opposite side of the shank from the point, so that the fly rides hook-point-up in the water.
4. Snip two half-inch sections of rabbit strip for the claws. Tie in a claw on each side of the shank (hide side facing inward) immediately in front of the dubbing ball.
5. Take one lazer leg and cut it in half. Tie in one half so that the legs face rearward and are between the claws.
6. Cut a piece of Thin Skin at about 1.5” long and slightly less than 1/4” wide. Snip the corners off one end of the skin to a point with your scissors. Invert your vise so that the hook point is on top. Tie in the pointed part of the skin directly on top of the shank facing rearward, immediately behind the claws and legs. Leave the skin trailing back for the next step. If it helps, you can use the hook’s point to hold the skin out of the way. (Important: Because this fly rides point-up, the Thin Skin needs to be tied in on the side of the shank that faces the point of the hook. The skin will face up when the fly inverts from the weight of the bead chain eyes.)
7. Create a 6-7” dubbing loop with your thread immediately in front of the Thin Skin tie-in point. Rip-stack a clump of carp dub to align the dubbing fibers. Rip-stacking refers to taking a clump of dubbing and pulling it apart with your hands, placing the fibers back into the clump, and repeating until the fibers are all parallel with each other. Take pieces from the aligned clump and place them into the loop, perpendicular to the thread, until you fill the loop. Spin your loop with a dubbing twister. Using a bodkin, pick out your loop to untangle the fibers. Spin the loop until the dubbing fibers are securely trapped in place. This dubbing brush will be the body of the fly.
8. Palmer the dubbing loop up toward the eye of the hook, using touching wraps, until you reach the bead chain eyes. Tie off your loop and snip off the excess.
9. Using a bodkin, pick out the body and split the fibers evenly along the hook shank so that they stick out perpendicular to the hook shank. Do this on both the top and bottom of the shank.
10. Make sure your vise is oriented with the hook point on top. Fold the Thin Skin up and over the top/in line with the hook shank. Tie off the Thin Skin just in front of the bead chain eyes. Trim excess.
11. Whip finish behind the eye of the hook and snip your tying thread.
12. Use UV resin to coat the underside of the hook shank to keep the dubbing fibers split to either side. Also, apply a thin coat over top of the Thin Skin and your whip finishes for durability.
13. Turn your vise so that the eye of the hook is pointed directly at yourself. Use scissors to trim the body into a V-shape, with the longer fibers by the claws tapering narrower to the bead chain eyes.
Variations
This fly can be tied in all sorts of colors and weights depending on where and what kind of water you are fishing. Olive and tan are two other great color options. Swapping out the bead chain eyes for smaller sizes of dumbbell eyes will allow you to fish both shallow and deeper water. As a trout fly, I tend to tie this fly with small or medium dumbbell eyes to help the fly reach the bottom of the rivers in the area.
Jacob Pehl is the assistant manager at Bozeman Fly Supply.

