Head First
How to shoot action sports like a pro.
The use of wearable cameras is expanding rapidly in all action sports, and the technology is keeping up with it. Manufacturers are racing toward better resolution, higher frame rates, and crisp optics. They’re working as hard as they can to have the latest and greatest product—which sparked the creation of innovative technology and put it squarely in the hands of consumers. Today, anyone can be a filmmaker with a little know-how. To get started, here’s some info and tips on how to shoot like a pro.
Lens & Screen
Most cameras are equipped with a wide-angle lens ranging from approximately 100-180 degrees, which allows the camera to pick up more of the scene than a traditional long lens. The field of view on some cameras varies depending on format. This might be a benefit depending on what kind of scene is being shot. Additionally, many helmet cameras offer some sort of external screen to set your composition or review your shot. These are built right into the camera, attached to the camera, or streamed to a wireless device. There are benefits and drawbacks to each, but having an idea of what you’re shooting before you shoot it takes a lot of the guesswork out of shooting with a wearable camera. On the other hand, taking a look at your footage without knowing exactly what to expect is part of the fun!

Mount
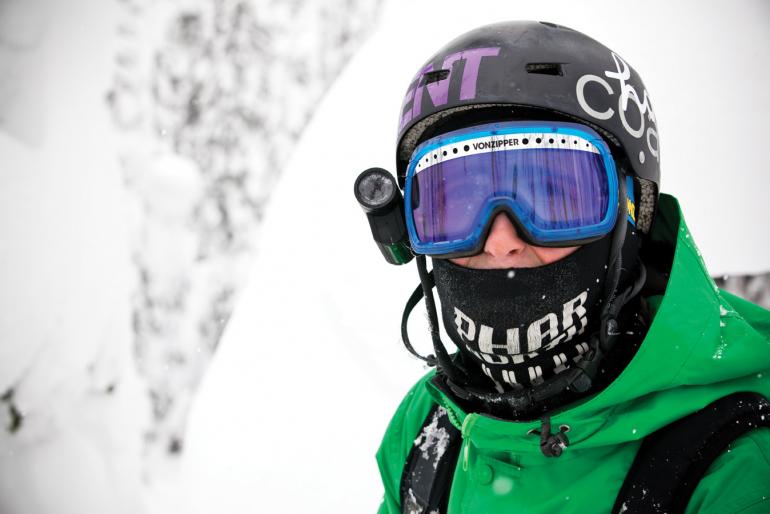
Each helmet camera manufacturer makes several different mounts for their cameras—unfortunately, they aren’t compatible with each other. Take a moment see what each company offers and which mounts work best for your setup. When it comes time to choose a mount, opt for one that connects to a hard surface like a helmet or bike handle rather than one that connects to a soft surface like a goggle strap. Nobody wants to look at a shaky image, so take the time to attach the mount in a secure and stable place. The only movement the camera should see is the natural movement of whatever it is attached to—not the added movement of the flimsy attachment. Also, make sure figure out exactly where your camera is pointed. Some cameras have built-in lasers to let you know where you’re looking. It would be a shame to record a full day of shredding, only to look at the footage and see the toes of your ski boots.
Weather
If you plan on filming outside, you’ll need to weatherproof your camera. Most companies offer waterproof cases, and some of these are bulkier than others, so look for one that still gives you easy access to the controls. Once you’re filming, bright and sunny days will always give you the best image but can sometimes get blown out. It’s best to turn down the exposure a couple notches on bluebird days. Cameras also perform pretty well on overcast days, but you might benefit from bumping up the contrast a bit.
Format & Production
Make sure you understand the format your camera is shooting in and the best way to make that format work on your computer. Most of them shoot to a compressed proprietary format, so files probably need to be converted to be useable. Save yourself hours of frustration by taking the time to understand the formats and convert the files. And keep in mind that “fix it in post-production” shouldn’t be your first choice. A bit of color correction and image stabilization after filming will help make your image better, but they won’t salvage a poorly shot scene.
Shane Dowaliby is a producer at Toy Soldier Productions, a local outdoor film company.


