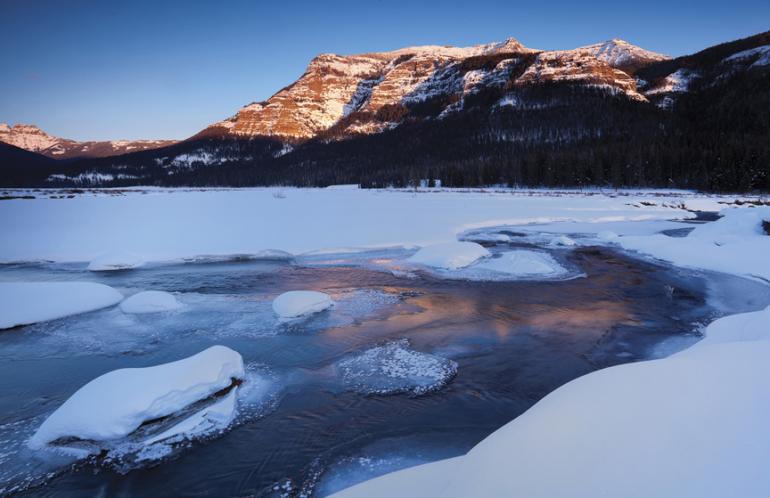
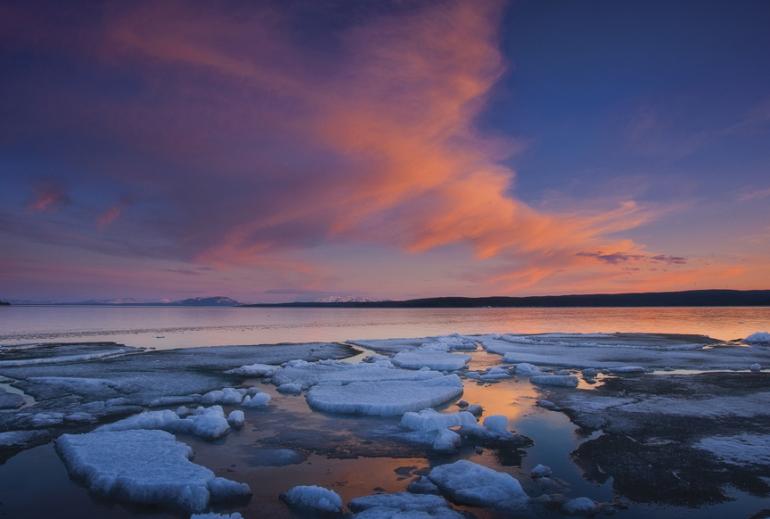
Frozen in Time
You’ve heard the saying “Failing to prepare is preparing to fail.” This could apply to all seasonal photography, but it’s critical to taking great photos in the winter. Here are some tips to help you stay comfortable and come away with great shots.
Prepare for Battle
Preparing to take winter photos is pretty much the same as it is for any winter activity. The first thing I do to is check the weather forecast. Even better, webcams are a great way to see what’s happening near your destination. Check road conditions, install winter tires on your car, and make a list of necessary gear so you don’t forget anything. Give yourself plenty of travel time to get there, and if possible, have someone drop you off and pick you up before and after you take photos. Walkie-talkies are a great way to communicate with each other. If you choose to go alone, always let someone know where you’re going and when you’ll be back. Depending on snow depths, snowshoes or cross-country skis can save a lot of time and energy.
Stay Protected
The best times for nice colors and shadows are sunrise and sunset—unfortunately, those times are also some of the coldest. Your hands and feet are the first parts of the body to get cold during any winter activity, but especially photography, as you aren’t engaging in activity that’ll warm you up and you need to use your fingers a lot. A thin pair of gloves will provide some protection and allow you to operate the camera. If it’s extremely cold out, I use down mittens with hand warmers inside, and remove the mittens when I’m ready to shoot. Hiking boots with waterproof overboots keep my feet warm and dry. Whatever footwear you choose, don’t put on cold boots and then head out the door. Warm them up first—this will go a long way in keeping your feet comfortable throughout the day. Toe warmers are good for extreme weather conditions. As always, wear layered clothing, preferably material that wicks away moisture.
Tripod Tribulations
I carry a tripod on most of my photo trips in the winter for long-exposure photography. If your tripod is made of metal, you’ll need to protect your hands. If the legs aren’t covered, go to the hardware store and buy foam pipe insulators and use electrical tape to secure them. Another option is to carry a graphite tripod—this option is lighter and doesn’t freeze your hands, but it costs more. Lastly, make sure you have a quick-release plate so you don’t have to screw the camera onto the tripod, which can be difficult in the winter.
Camera Care
On today’s digital cameras, Live View mode eats batteries for breakfast, so use it sparingly. Always carry an extra battery and make sure it’s charged. If I’m not too far away from the car, I take along a converter that plugs into the cigarette lighter to recharge my batteries. When photographing in extreme weather conditions, be careful not to breathe on your camera viewfinder, lens, or screen. Always carry a lens cloth or a towel to wipe moisture off the lens and other equipment. When bringing your camera from a cold environment into a warm one, put it in your camera case or a sealed plastic bag—this prevents moisture buildup, which can damage your equipment.
Dean Sauskojus is a nature photographer living in Bozeman. His images have appeared in national magazines, calendars, and books. For the last several years, he has extensively photographed Yellowstone and he has recently written a new eBook, The Ultimate Photo Guide to Yellowstone National Park.

