Doing Time
Impactful fall photography.
Montana—we’re lucky to live where we do. With snow-capped mountaintops, alpine lakes, dense forests, and all four seasons, it’s one hell of a place to be a photographer. Although, it seems that when we venture out, armed with our cameras and visions of Ansel Adams-like photos, our results don’t always turn out how we imagined. That’s because landscape photography is deceptively hard. Anyone can take a landscape photo, but making an impactful image is challenging. With that in mind, here are some tips.
Light Is Everything
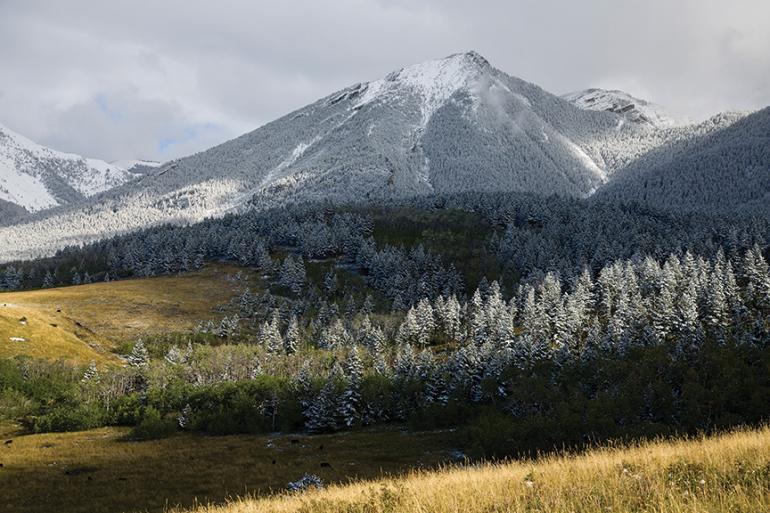
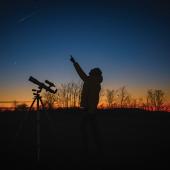
Whether you’re shooting with a pro-level DSLR or just your iPhone, a great landscape photo is born in great light. The ideal times to shoot landscapes are just after dawn and just before dusk, in the so-called “Golden Hour.” During these times, the sun is lower in the sky, giving light a golden hue and casting more dramatic shadows that add texture to the shot. Alternatively, you can scout out a location during the day and return after dark to capture the stars or moon above your landscape. No matter what, a great landscape photograph involves planning and timing to best use natural light.
Have a Foreground Subject
Landscape photos always feel majestic and grand when we take them, but the camera can flatten and simplify the image. Having a foreground subject can do a lot to add to the depth and composition of your image. Including a foreground element provides a focal point and can give the viewer a sense of scale and context for the place where the picture was taken. Also consider finding a foreground line that leads the eye into your subject.
Play with Different Focal Lengths
Most of the time we use a very wide angle of view in landscape photography, since the photo needs to capture a large area. But you should never rule out telephoto in taking landscape photos. It can sometimes be hard to communicate the scale of a scene with a very wide focal length, and mountains especially can sometimes look small and flat. By using a longer focal length (or “more zoom”) you can make certain landscape elements more dramatic, particularly when you have a foreground subject. The magnification will bring far-off landscape elements closer to the subject, and can make for striking images. Try renting different lenses to shoot outside your kit and experiment.
Always Bring a Tripod
A tripod is an essential tool for landscape photography and it can be crucial for getting the perfect shot. A tripod allows you to stop your lens down and achieve greater depth of field without having to worry about shutter speed. It also allows you to bracket images, which is when you take several images of a scene, exposing for shadows, highlights, and mid-tones separately. Combining these images using editing software can allow you to keep detail in all areas, even in extreme lighting.
Balance Sky and Ground
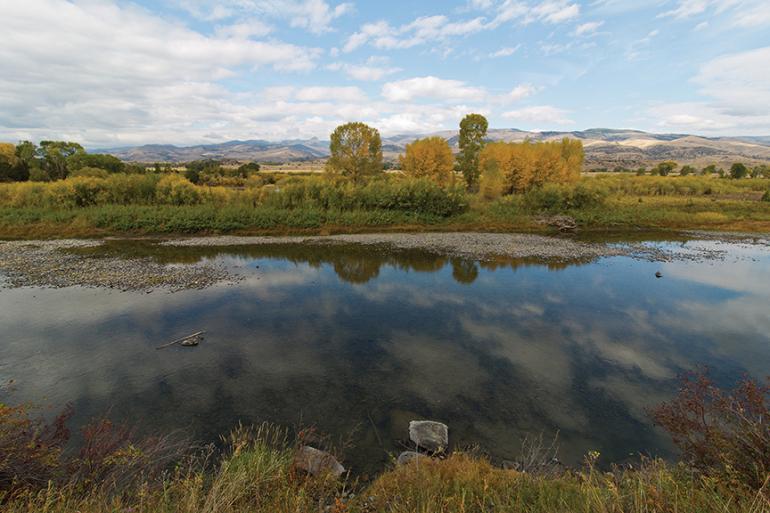
It can be easy to forget that sky is a very important element of landscape photography—it can make or break an image, depending on how it’s used. A bland, clear sky doesn’t deserve half of your image. If the sky is clear, consider moving the horizon line to the upper third of the image and incorporate more of the elements on the ground. However, clouds can be a photographer’s best friend. Clouds add texture, depth, and drama to a landscape image. But they can be tricky—overcast is never dramatic. If there is a nice balance of clouds, especially during the golden hours, consider moving the horizon line to the bottom third, and allowing the sky to be more dominant.
These are some broad tips you can arm yourself with the next time you go out photographing, but the best way you can improve your landscapes is to invest in them. A landscape photo that really makes an impact demands both time and effort.
Connor Glesner works at Bozeman Camera on N. 7th Ave.

