If It's Broke, Fix It
A guide to DIY ski repair.
You’re carving a perfect turn through a nice swath of powder when, out of nowhere, a sharp rock bites the base of your ski. You turn it over to find plastic, metal, and fiberglass protruding at jagged angles—bummer, man. Thankfully, skis are easy to fix at home with some basic tools and materials. You probably won’t get the same seamless quality finish as you would bringing them to a shop, but it’ll get you through the season without causing further damage to the skis. Here are the best repair techniques for the most common types of ski damage.
Materials
Damaged skis
Epoxy and mixing sticks
Masking tape
D-clamps
Metal scrapers
Razor blades
Sandpaper
Flathead screwdriver
Base cleaner
Heat gun or soldering tool
Metal-grip sticks
Topsheet Delamination
The simplest of ski repairs. Prevent your topsheets from further delaminating by sticking them back down with epoxy. Start by mixing the epoxy; fast- or medium-set will both work. Spread epoxy underneath the peeled-up topsheet with your mixing stick—use a small amount or things will get messy. Apply masking tape over the damage to prevent epoxy from seeping out. Place a metal scraper on the bottom and top of the ski over the masking tape and secure with two d-clamps for even pressure. Let cure overnight, unclamp, peel tape, and cut away excess epoxy with a razor blade. Polish with sandpaper.

Base & Edge Delamination
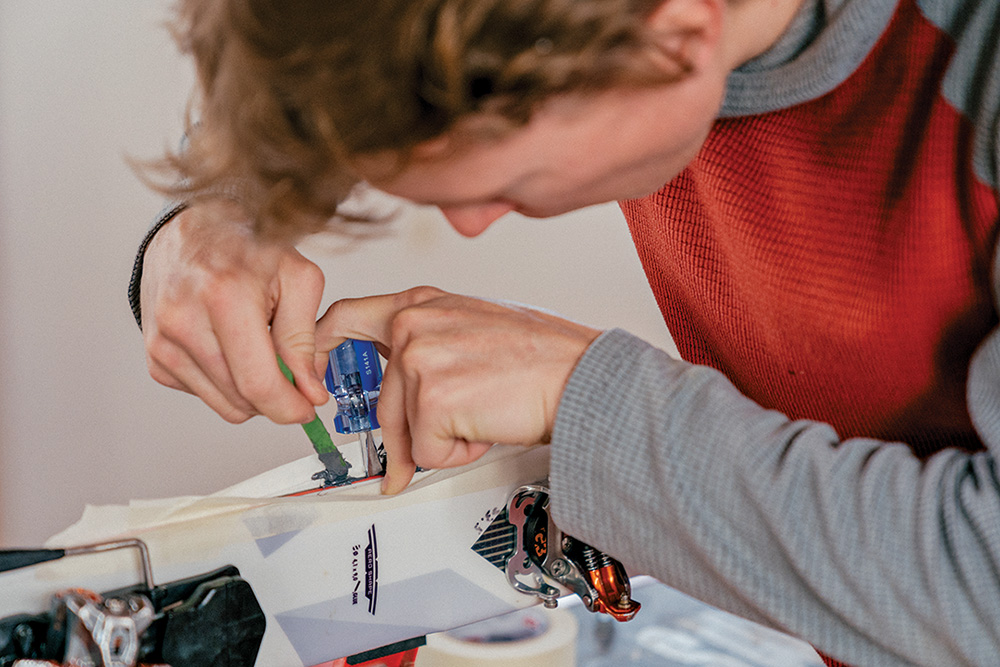
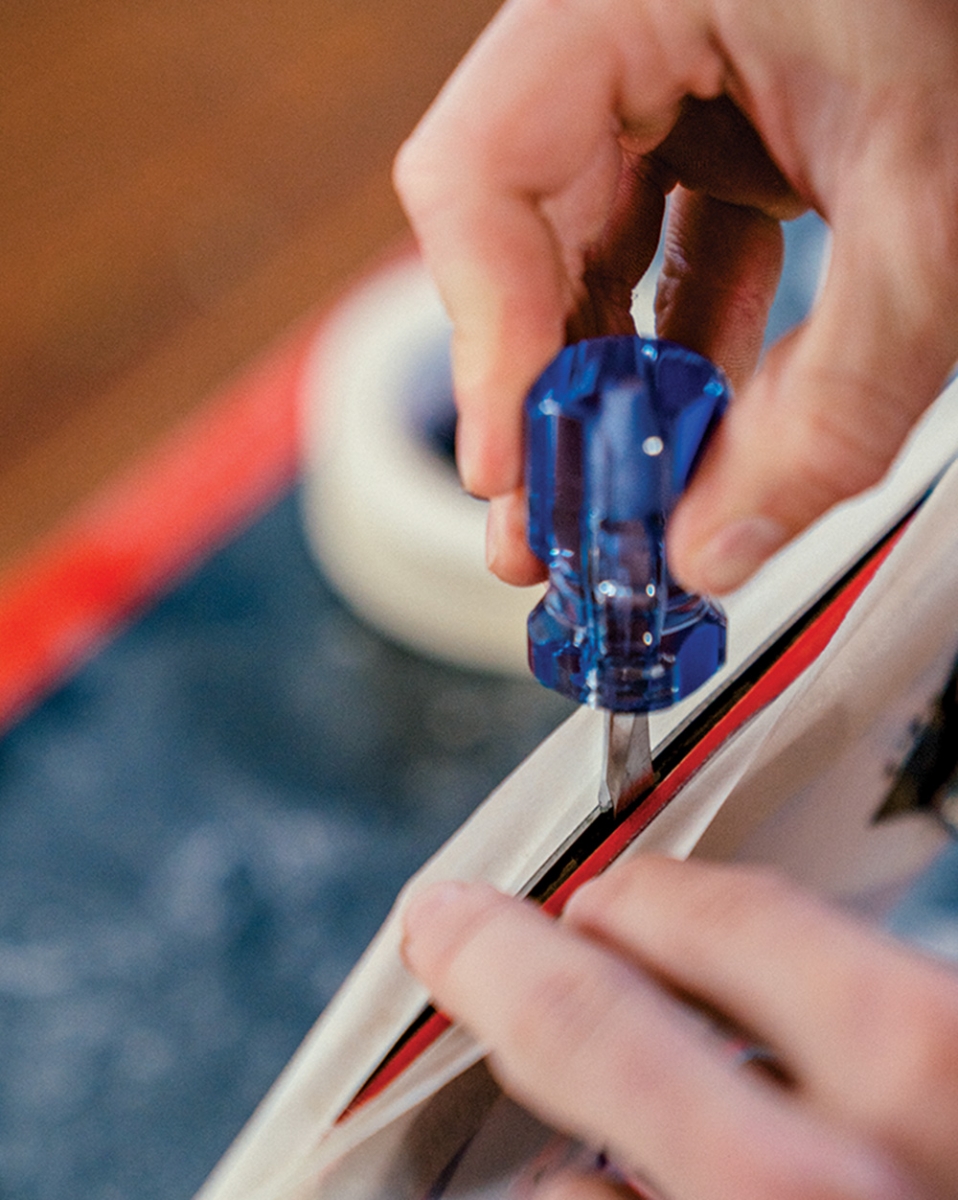
A bit more involved, but follow the same premise here. If you see a gap between your edge and sidewall, fix it ASAP to prevent water damage in the core. Secure the ski in vices with the damaged edge facing upward. This time, apply masking tape before mixing epoxy. Place a strip along the base and topsheet, hanging halfway over the edge, and extending several inches each way past the delamination. Crimp the tape together at each end to create a sealed moat. Carefully wedge a flathead screwdriver between the edge and sidewall to pry the delamination open—you want the epoxy to seep in as deeply as possible. Now mix your epoxy; use medium-set to prevent curing while you work. Drip epoxy into the delamination and give it a minute to seep in. Now remove the screwdriver and clamp together with metal scrapers and d-clamps, starting from the outsides and moving towards the center to push air bubbles and excess epoxy out. Let cure for 24 hours with the edge facing up so that air bubbles rise to the surface. Unclamp, remove tape, trim with a razor blade, and polish with sandpaper.


Core Shots
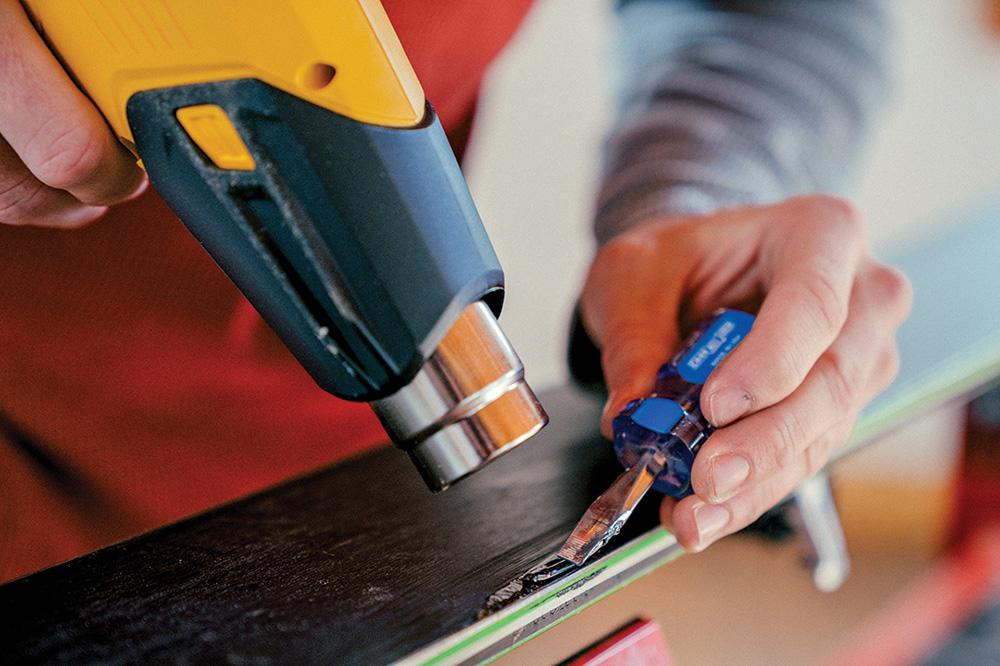
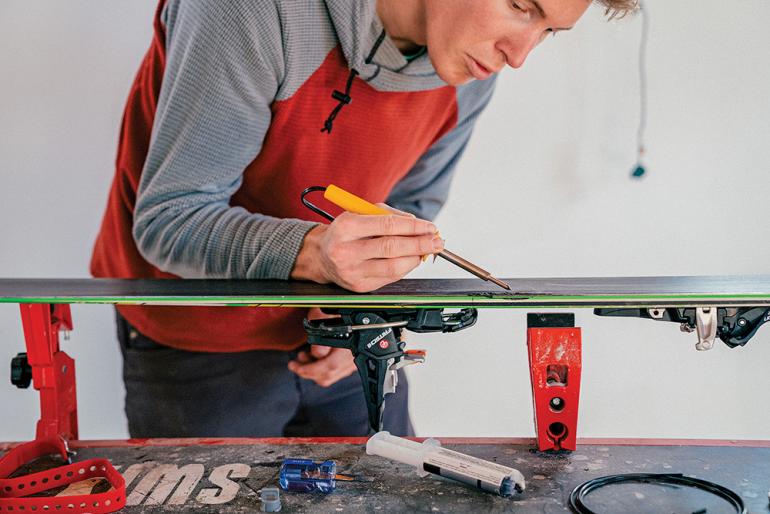
Again, fix core shots ASAP to prevent water damage. Use metal-grip (a mix of P-Tex and epoxy) rather than standard P-Tex sticks to prevent the patch from tearing out. Ski shops have metal-grip in bulk spools behind the service counter—ask nicely, throw ‘em a few bucks or some frosty beverages, and they’ll hook you up. Start by cleaning and drying the damaged area—ideally with base cleaner, but soapy water is fine. Once dry, scour the core and base material in the shot with a razor blade in a criss-cross pattern to create little crevices for the metal-grip to bite into. Cut the metal-grip to the length of the core shot; if it’s wide, use two strips side-by-side. If you have a heat gun, set it on low and gently warm the surrounding area by waving the gun back and forth—if you hold it in one spot too long, it will melt the base. Place the metal-grip into the shot and hold it down with a flathead screwdriver. Continue sweeping the heat gun until the metal-grip starts to melt—it should only take a few seconds. Press down with the screwdriver to squeeze the melted material into the shot. If you don’t have a heat gun, you can use a soldering tool for a similar effect, but be careful not to burn the metal-grip. If the material starts to smoke or bubble, unplug the tool and let it cool down. Let the metal-grip set for a few minutes, then trim off the extra with a razor blade and polish with sandpaper.


